 English
 中文简体
中文简体News Category:
Key Words:
-
 Sep 11,2024 Forwell
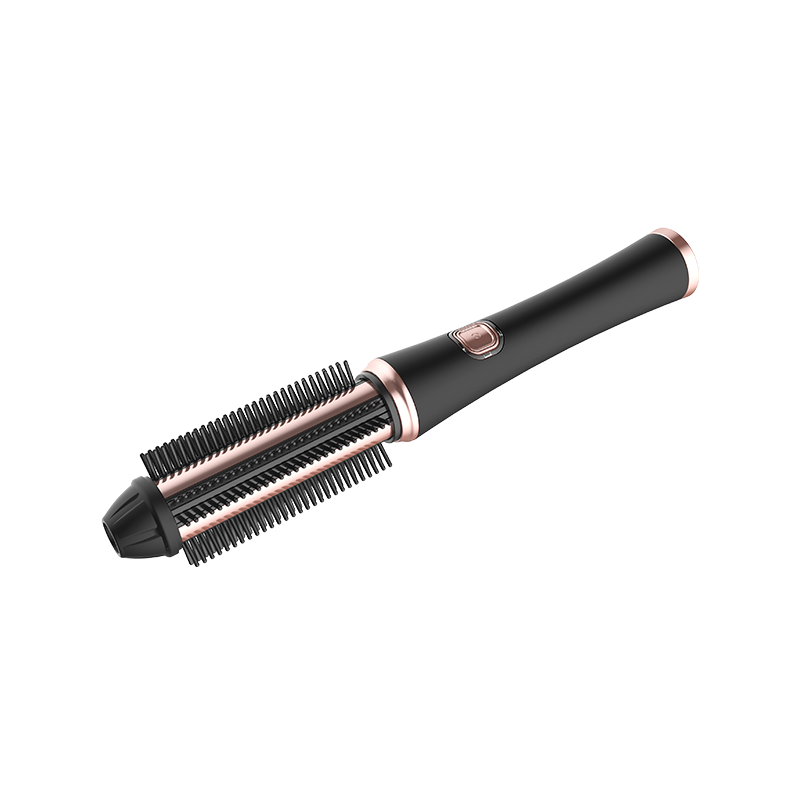
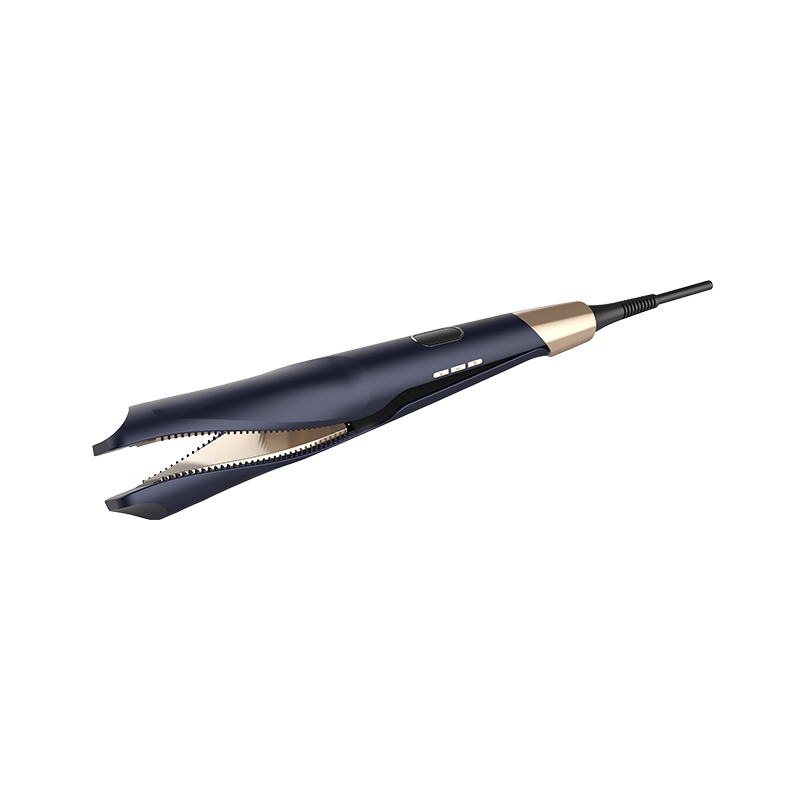
Curling irons can be deodorized with natural deodorants
In the daily use of curling irons, in addition to maintaining their cleanliness and performance, eliminating or preventing possible odors is also an important part that cannot be ignored. Natural deodorants have become the preferred deodorizing method for many users because of their mild, harmless and environmentally friendly characteristics.Choose natural deodorizing ingredientsNatural deodorants are usually derived from natural resources such as plants, fruits or minerals. They can not only effectively remove odors, but also bring natural fragrance. For curling irons, the following are some suitable natural deodorizing ingredients:Activated carbon: Activated carbon is popular because of its strong adsorption capacity. It can effectively absorb grease, dirt and odor molecules on curling irons, and is a natural deodorants.Lemon or orange peels: Citrus fruit peels are rich in natural essential oils. These essential oils have a fresh aroma that can neutralize and mask the odor on the curling iron. At the same time, they also have a certain bactericidal effect, which helps to keep the curling iron hygienic.Baking soda: Baking soda also has the ability to neutralize odors. It can chemically react with odor molecules to eliminate or reduce odors. In addition, baking soda can remove stains and grease from the surface of the curling iron.Correct use methodActivated carbon deodorization: Place an appropriate amount of activated carbon powder (or use an activated carbon bag) in a sealed bag or container and seal it with the curling iron for several hours to a day. Activated carbon will naturally absorb odors from the curling iron.Citrus peel deodorization: Cut lemon or orange peels into small pieces and place them near the curling iron (avoid direct contact with the curling iron) to allow them to naturally emit fragrance. You can also apply the peel juice to a clean cloth and then wipe the surface of the curling iron.Baking soda deodorization: Mix an appropriate amount of baking soda powder with clean water or a small amount of water into a paste, then dip a soft cloth in it and wipe the surface of the curling iron. Be careful to avoid letting the baking soda solution flow into the interior of the curling iron or electronic components.
VIEW FULL ARTICLE -
 Sep 05,2024 Forwell
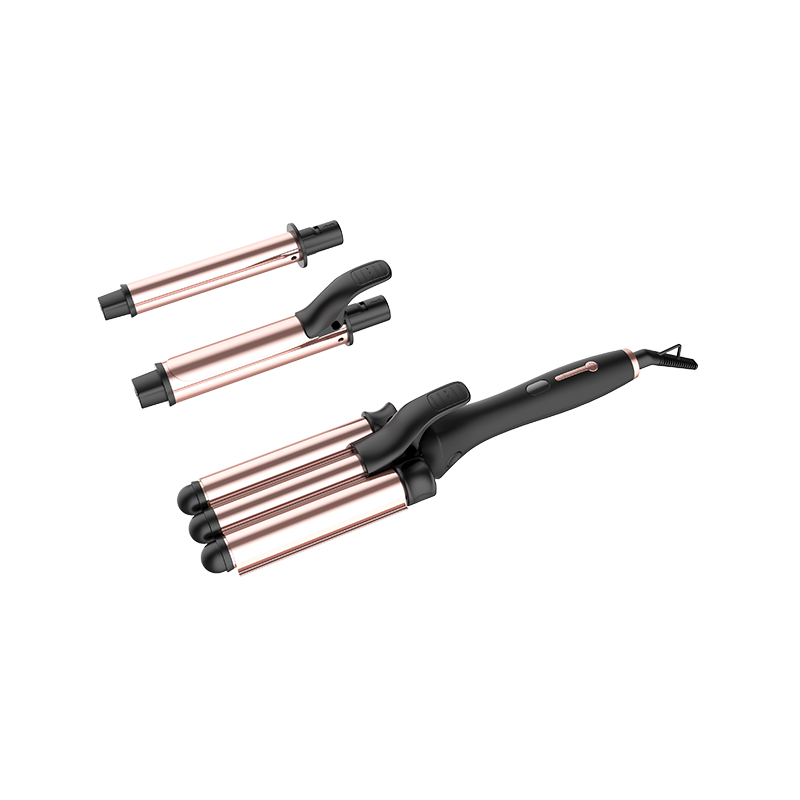
How to deep clean a curling iron?
During long-term use, curling irons absorb oil, dirt, and chemicals such as hairspray from hair. These residues not only affect the curling effect, but may also damage hair and produce odor. Therefore, regular cleaning of curling irons is essential to maintain their good performance, extend their service life, and protect the health of hair.Tool preparationProfessional cleaners: Choose cleaners designed for electrical appliances. Such cleaners usually have mild decontamination capabilities and will not damage the material or coating of the curling iron.Soft brush: The fine soft brush can penetrate into the grooves and gaps of the curling iron to remove hard-to-reach dirt and residues.Old toothbrush: As a backup or auxiliary tool, the shape and hardness of the brush head of the old toothbrush are suitable for handling some special areas.Microfiber cloth: Used to wipe the surface of the curling iron. The microfiber material can effectively absorb dust and moisture while avoiding scratches.Cotton swab: For extremely small gaps or hard-to-reach corners, cotton swabs are indispensable tools.Protective gloves: Although professional cleaners are usually mild, wearing protective gloves can further protect the skin of your hands.Cleaning stepsPower off and cooling: Make sure the curling iron is completely powered off and cooled to room temperature. Operation at high temperatures may cause burns or damage the cleaner.Preliminary wiping: Use a microfiber cloth to gently wipe the surface of the curling iron to remove dust and loose dust on the surface.Apply cleaner: Apply an appropriate amount of professional cleaner evenly on the surface of the curling iron, especially in the grooves and gaps. Be careful not to apply too much to prevent the cleaner from penetrating into the electronic components.Deep cleaning: Use a soft-bristled brush or an old toothbrush to gently scrub the curling iron with cleaner in circular motions. Be careful to use moderate force to avoid scratching the surface. For hard-to-reach corners, you can use a cotton swab to dip a small amount of cleaner for cleaning.Rinse and dry: If the cleaner needs to be rinsed, carefully rinse the surface of the curling iron with clean water to prevent water from flowing into the electronic components. After rinsing, dry the curling iron with a clean microfiber cloth to ensure that there is no moisture residue.Air dry: Place the cleaned curling iron in a well-ventilated place to air dry naturally. Avoid using heat sources such as hair dryers to accelerate drying to avoid damaging the curling iron.
VIEW FULL ARTICLE -
 Aug 29,2024 Forwell
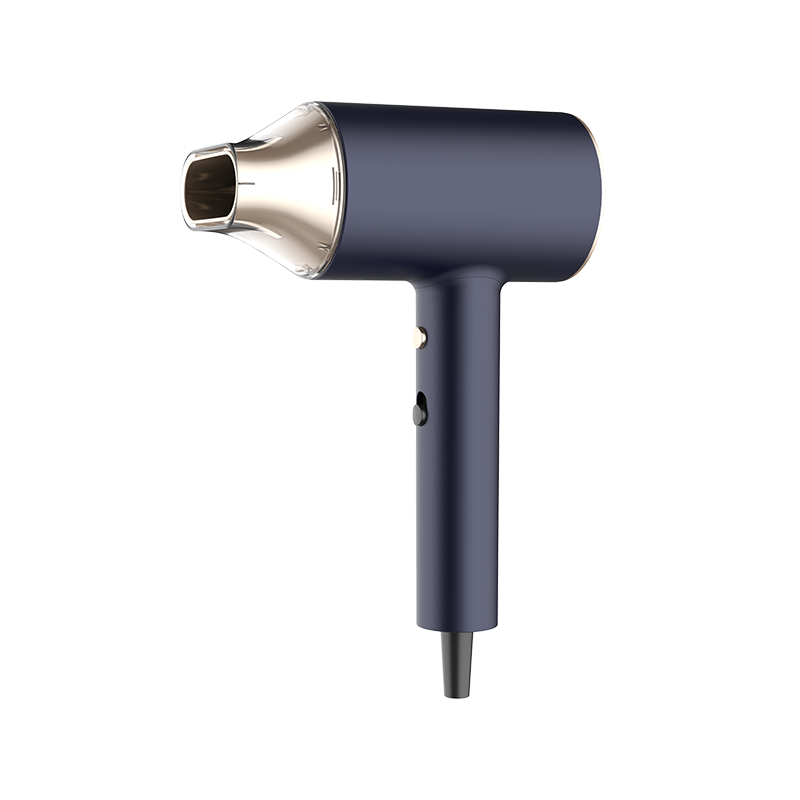
Importance of internal structural materials in the design of household hair dryer nozzles
When discussing the subtleties of the design of household hair dryer nozzles, the selection and application of internal structural materials are undoubtedly the cornerstone of its powerful performance and long-term durability. As a key component for guiding airflow and shaping hairstyles, the material of its internal structure not only affects the efficiency of wind conduction, but also directly affects the user experience and the overall life of the product.Importance of material selectionThe selection of materials for the internal structure of the nozzle should consider its tolerance to high temperature and high-speed airflow. When the hair dryer is working, it will generate a lot of heat and high-speed airflow, which puts high demands on the material inside the nozzle.Common materials and their characteristicsMetal alloys: Metal alloys occupy an important position in the design of high-end hair dryer nozzles due to their good thermal conductivity, strength and corrosion resistance. Common metal alloys include aluminum alloys, stainless steel, etc. These materials can not only effectively resist high temperatures and corrosion, but also ensure that the nozzle maintains a stable shape and performance during long-term use.Engineering plastics: In order to reduce costs and improve the lightness of the product, many hair dryer nozzles use engineering plastics as internal structural materials. Engineering plastics have good heat resistance, impact resistance and wear resistance, and can meet the working requirements of hair dryers. Through processes such as injection molding, the internal structure of the nozzle with complex shapes can be easily manufactured, which improves the design freedom of the product.Composite materials: In order to combine the advantages of metal alloys and engineering plastics, some high-end hair dryer nozzles use composite materials. These materials are usually made of multiple materials through special processes. They have the high strength and high thermal conductivity of metals, and the lightness and processability of plastics. The use of composite materials allows the nozzle to achieve lighter weight and more complex structural design while maintaining high performance.
VIEW FULL ARTICLE -
 Aug 22,2024 Forwell
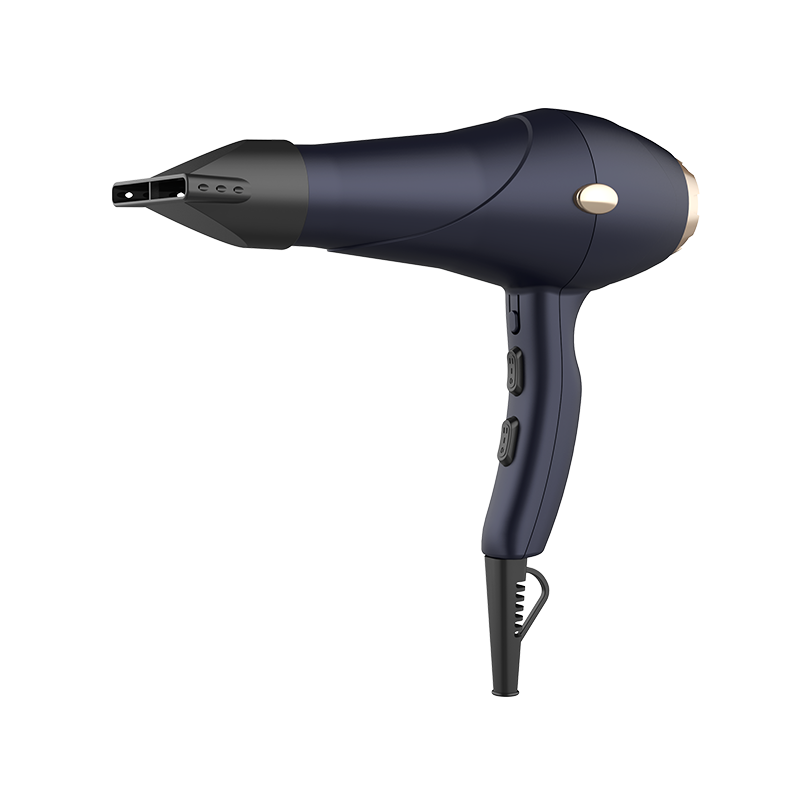
Advantages of household hair dryer anti-flying nozzle
In modern home life, which pursues both high efficiency and beauty, the nozzle design of household hair dryers plays a vital role. Among them, the anti-flying nozzle has become the choice of many beauty lovers with its unique design concept and strong practical performance.The design inspiration of the anti-flying nozzle comes from the "Coanda effect" in fluid mechanics, which is a physical phenomenon that when a fluid passes through a curved surface, it flows along the surface and adheres to the inner side of the curve. The anti-flying nozzle cleverly utilizes this principle. Through its unique curved shape and airflow guide design, the blown wind can flow close to the surface of the hair, thereby effectively smoothing the hair and reducing the flying phenomenon.In order to achieve the effect, the anti-flying nozzle often adopts precise engineering design and advanced manufacturing technology. Its internal airflow channel is carefully optimized to ensure uniform distribution of air volume and moderate control of wind speed. The material of the nozzle must also have good heat resistance, corrosion resistance and wear resistance to cope with the high temperature and high wind pressure environment generated during the use of the hair dryer.Practical performance and user experienceThe anti-flying nozzle performs well in practical performance. It can not only quickly and effectively smooth out hair frizz, but also maintain the natural luster and smoothness of hair. This is undoubtedly a great blessing for users who pursue good-looking hairstyles and good images.During use, the anti-frizz nozzle is easy to operate. Users only need to install the nozzle on the hair dryer, adjust the appropriate wind speed and temperature, and then put the nozzle close to the surface of the hair to blow. Because the design of the nozzle conforms to the principle of ergonomics, it is very comfortable to use and will not bring too much burden to the hands.
VIEW FULL ARTICLE -
 Aug 15,2024 Forwell
Advantages of using ceramic coatings for hair straighteners
The choice of surface coating material is crucial to the long-term durability and performance stability of hair straighteners. Below we will take a closer look at the antioxidant properties of ceramic coatings for hair straighteners and the practical benefits of this property for products and users.Antioxidation ability of ceramic coatingsCeramic, as an inorganic non-metallic material, has good antioxidant properties. The surface of the heating plate of hair straighteners with ceramic coatings can effectively resist oxidizing factors in the external environment, such as oxygen and water vapor in the air. This antioxidant property not only prolongs the service life of hair straighteners, but also maintains the beauty and functionality of the product.Relationship between oxidation and hot toolsWhen using hair straighteners, the surface of the heating plate is exposed to high temperatures and air, which increases its risk of oxidation. The application of ceramic coatings can effectively reduce the incidence of these problems that metal surfaces are prone to spots, rust or tarnishing due to oxidation. The structural stability and chemical inertness of ceramics enable them to remain smooth and bright for a long time and are not easily damaged by external oxidizing factors.High temperature resistanceHair straighteners usually work at high temperatures, and ceramic coatings can maintain their stability and durability in such high temperature environments. Compared with metal surfaces, ceramics will not expand or deform due to high temperatures, maintaining the flatness and use effect of the heating plate. This stable surface structure not only helps to evenly heat and style the hair, but also ensures the reliability of hair straighteners during long-term use.
VIEW FULL ARTICLE -
 Aug 08,2024 Forwell
Detailed explanation of the mechanism of action of hair straighteners ion technology
As an important part of modern hairdressing tools, hair straighteners play a key role in improving the health and beauty of hair.The basic principle of ion technologyThe ion technology in hair straighteners generates negative ions through a built-in ion generator and releases them to the surface of the hair. These negative ions can neutralize the positive charge on the surface of the hair, making the hair smoother and softer, and reducing the generation of static electricity. Static electricity is often one of the main reasons for frizzy and difficult to comb hair. Ion technology improves the overall look and feel of hair by eliminating these static electricity.The impact of ions on hairIon technology does not just simply neutralize static electricity on the surface of hair, it can also penetrate deep into the internal structure of hair and have a positive impact on the health of hair:Moisture lock and protection: Ions help to seal the moisture on the surface of hair and reduce moisture loss. When using hair straighteners, heat will cause the evaporation of moisture in the hair. Ion technology can effectively reduce this evaporation, maintain the moisture balance of the hair, and reduce the risk of dryness and split ends.Reduced damage: Using traditional hair straighteners may cause hair damage due to high temperature and mechanical pulling. The use of ionic technology can reduce the degree of this damage, making the hair still smooth and healthy after high temperature treatment.Enhanced shine: Because ionic technology can seal the hair cuticle on the surface of the hair, the hair looks smoother and shiny. This effect makes the hair look healthier and more natural after using hair straighteners.
VIEW FULL ARTICLE
KEEP IN TOUCH
-

-

+ 86 - 574 - 63305579 / + 86 - 574 - 63321368
-

No.8 Wenti Road, Zhouxiang Town, Cixi City, Zhejiang Province, China.
QUICK LINKS
PRODUCTS
MOBILE TERMINAL
Copyright © Ningbo Forwell Electric Appliance Co., Ltd.. All Rights Reserved. Wholesale Hair Styling Tools
