 English
 中文简体
中文简体News Category:
Key Words:
-
 Aug 01,2024 Forwell
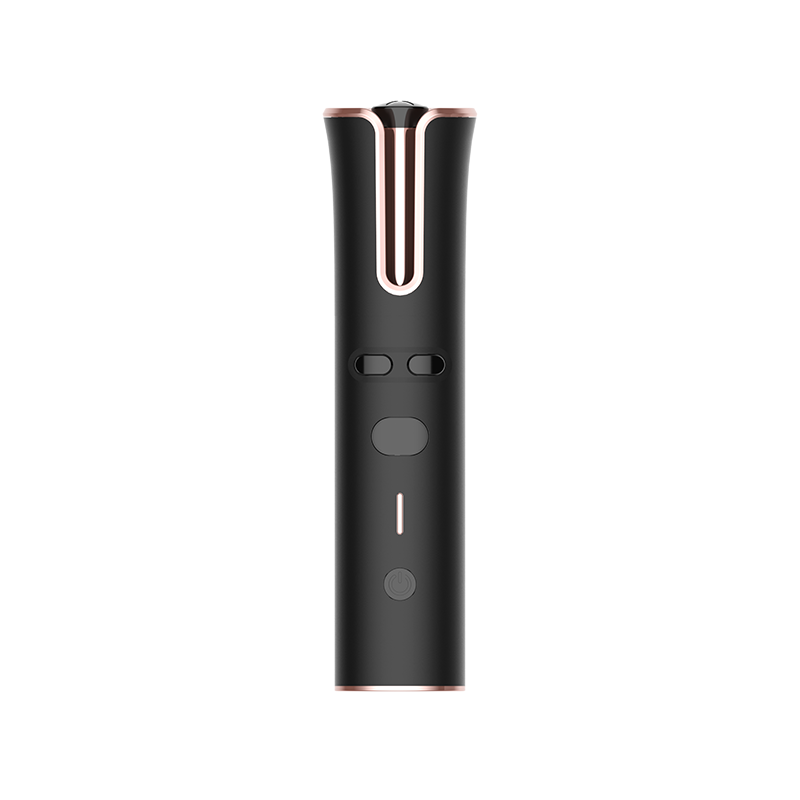
Selection of heating element material for curling irons for fine and soft hair
In the field of hair care, curling irons are a powerful assistant for shaping various hairstyles. The selection of heating element material is crucial for users with fine and soft hair. Fine and soft hair is naturally soft and fragile, and is much more sensitive to heat than other hair types. Therefore, the selection of heating element material for curling irons requires more careful consideration and trade-offs. The following aspects are an analysis of the characteristics of heating element materials.Ceramic heating elementCeramic heating elements have attracted widespread attention for their rapid heating and uniform heat conduction. However, for fine and soft hair, ceramic heating elements may have problems of too rapid heating and local overheating, which can easily cause hair damage. In addition, the service life of ceramic heating elements is relatively short, and users need to pay more attention to maintenance during use.PTC heating elementPTC (Positive Temperature Coefficient) heating elements occupy a certain share in the curling iron market with their advantages of long life, high reliability and low cost. PTC heating elements can automatically adjust the power according to the ambient temperature to ensure the stability and safety of the heating process. For fine and soft hair, PTC heaters can provide a gentler and more uniform heating effect, reducing the risk of hair damage.MCH Metal Ceramic HeaterMCH (Metal Ceramic Heater) metal ceramic heater combines the high thermal conductivity of metal and the high temperature resistance of ceramic, with the advantages of fast heating speed, fast thermal compensation speed, and uniform heating. The application of this heater in curling irons can significantly improve the heating efficiency and styling effect, while reducing damage to hair. For fine and soft hair, MCH metal ceramic heater is undoubtedly a more ideal choice.
VIEW FULL ARTICLE -
 Jul 22,2024 Forwell
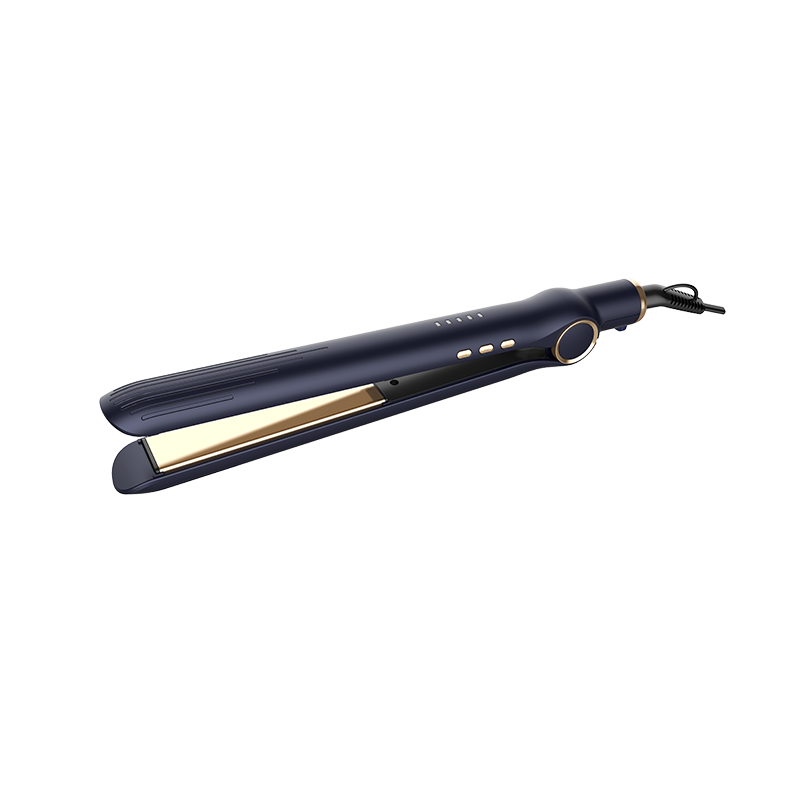
The hair clipper is beautifully designed and suitable for international voltage range
The hair clipper is beautifully designed and suitable for the international voltage range. It can automatically adapt between 100 and 240 volts, with a frequency of 50/60 Hz and a power of 45 watts. It uses PTC heating technology, which can heat quickly and evenly, with a maximum temperature of 220 degrees Celsius (plus or minus 10 degrees Celsius). Its heating plate size is 95*28 mm, which is suitable for hair of different lengths and thicknesses, providing users with a variety of styling options. This hair clipper is equipped with an LED display that clearly displays the current temperature and is convenient for users to control and adjust. It has an automatic shutdown function to ensure safe use. Even if the user forgets to turn it off, it can automatically shut down the power, effectively saving energy and extending the life of the product. Its elegant design and advanced technology make it an ideal hairdressing tool. Whether used at home or professionally, it can easily create smooth straight hair or charming curls, meeting users' diverse needs for hair styling.
VIEW FULL ARTICLE -
 Jul 15,2024 Forwell
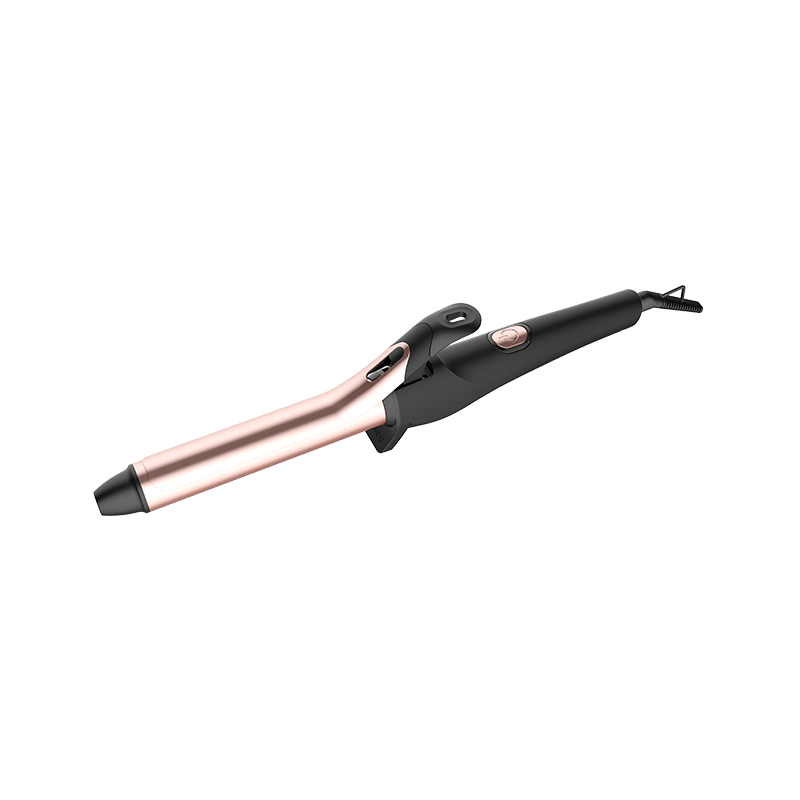
Multifunctional curling iron with many advanced features
The multifunctional hair curler has several advanced features to suit a variety of hairstyle needs. Its design includes the use of PTC heating elements and NTC temperature control technology, which can heat quickly and evenly to ensure safety and efficiency. The LED temperature display allows users to easily monitor the current set temperature to ensure that it will not overheat or overcool. In addition, it is equipped with a 360-degree rotating power cord, which increases the convenience and flexibility of use. The hair curler offers three different curling heads, namely 22mm wave curler, 25mm barrel and 32mm barrel, which are suitable for creating a variety of curling effects, from natural waves to voluminous curls. Users can choose the right curling head according to their needs and easily create a personalized hairstyle. Its wide voltage adaptation range supports 100-240V, 50/60Hz, making it an ideal choice for international travel or use in different voltage environments. Overall, this multifunctional hair curler not only has advanced heating and temperature control technology, but also combines convenient design and a variety of curling options. It is a modern and practical hairdressing tool.
VIEW FULL ARTICLE -
 Jul 08,2024 Forwell
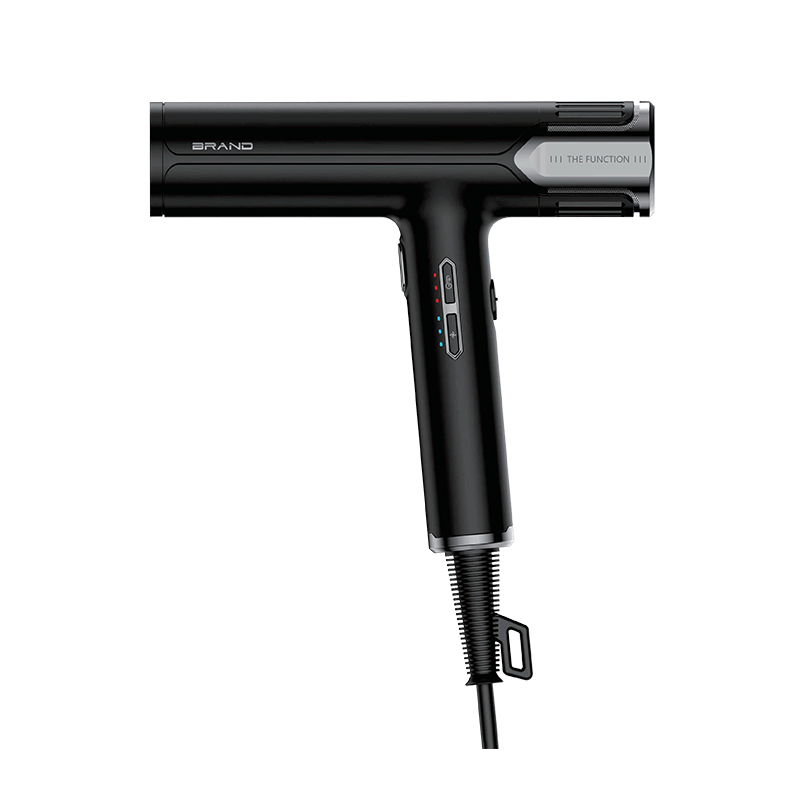
The household hair dryer provides three wind speeds and three heat settings
The household hair dryer uses a brushless DC motor (BLDC motor), with an operating voltage range of 220-204V, a frequency of 50/60Hz, and a power of up to 1800W. The use of a brushless DC motor not only provides higher efficiency and longer service life, but also reduces noise and vibration, and improves the user experience. The hair dryer provides three wind speeds and three heating settings, and users can choose the appropriate wind speed and temperature according to different needs. Whether it is a quick hair dryer or a careful styling, it can be easily dealt with. In addition, it is also equipped with a cool shot function, which can quickly style the hair with one-button cool shot to maintain the durability of the hairstyle. In terms of design, the hair dryer is equipped with a hanging loop, which is convenient for hanging and storage after use, saving space. The removable filter cover design makes cleaning and maintenance easier, effectively extending the service life of the hair dryer. The hair dryer also provides an ionic function option. The negative ion function can neutralize static electricity in the hair, reduce frizz, and make the hair smoother and more shiny. For users who need special styling, the hair dryer is also equipped with a diffuser option, which can help shape natural curly or wavy hairstyles and increase the three-dimensionality and layering of the hairstyle.
VIEW FULL ARTICLE -
 Jul 01,2024 Forwell
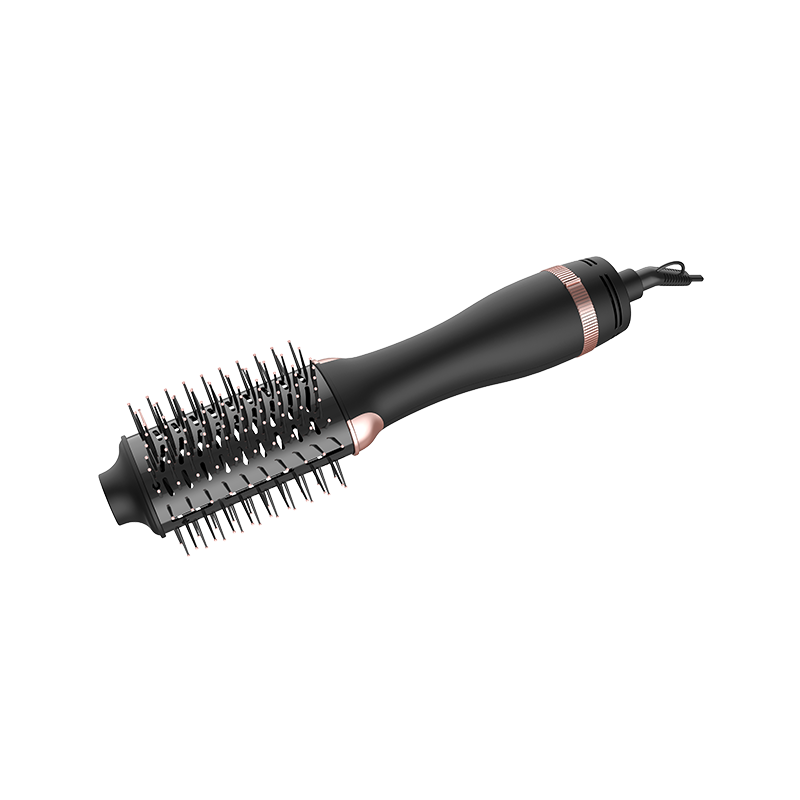
Voltage Hot Air Brush meets the diverse needs of modern users
Voltage Hot Air Brush is a versatile styling tool designed to meet the diverse needs of modern users. It uses a powerful 1200-watt DC motor with a voltage range of 220-240 volts and a frequency of 50-60 Hz, ensuring strong and stable performance for users around the world. This hot air brush is equipped with flexible heating settings, including four heating modes of "0-C-1-2", which can be adjusted according to different hair types and styling needs. In addition, it also has a two-speed wind adjustment function, allowing users to choose the appropriate wind speed according to their hair style needs, providing better styling effects and user experience. The hot air brush adopts a unique oval brush head design, which helps to lift the roots and increase the volume of hair, while also making it easy to create a full and smooth hairstyle. The 360-degree swivel power cord design makes the use process more convenient and not easy to tangle, providing users with maximum operating flexibility. This hot air brush also has an ion function option, which reduces static electricity and frizz by releasing negative ions, making hair smoother and more shiny. In addition, the dual voltage selection function makes this device more convenient to use in different countries and regions, without the need for additional voltage conversion equipment, truly achieving global use.
VIEW FULL ARTICLE -
 Jun 24,2024 Forwell
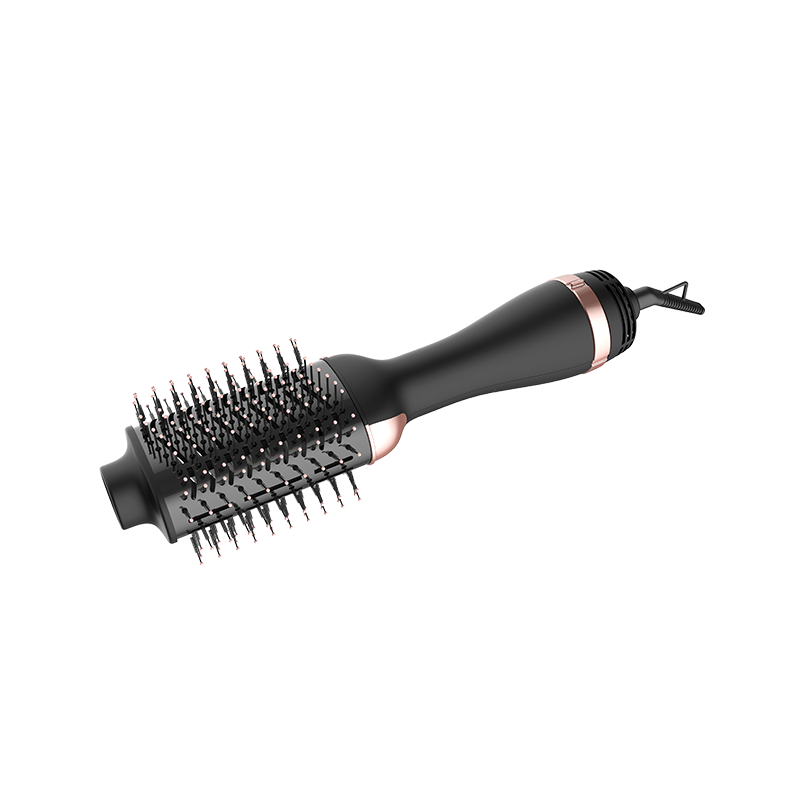
How is the constant temperature styling technology of Hot Air Brush?
In the hairdressing industry, an excellent hairdressing tool should not only have a good blowing effect, but also be able to protect the hair and make the hairstyle more durable. As a new star in hairdressing in recent years, Hot Air Brush has a unique constant temperature styling technology and has become a new favorite of many beauty lovers. 1. The core of constant temperature technologyThe key to the constant temperature styling technology of Hot Air Brush lies in its built-in intelligent temperature control system. This system can monitor the outlet temperature of the hair dryer in real time to ensure that the temperature is always controlled within a safe and effective range. Whether it is fine and soft hair or coarse and hard hair, it can get just the right thermal care. 2. The benefits of constant temperature for hairTraditional hair dryers often cause heat damage to hair due to improper temperature control, resulting in dryness, split ends and other problems. The constant temperature technology of Hot Air Brush can avoid this situation and keep the hair healthy during the blowing process. Moreover, the constant temperature technology can ensure that the hair maintains its natural luster after drying. Too high or too low temperature may cause the hair to lose its original luster, while the Hot Air Brush can ensure the styling effect while keeping the hair bright and colorful. 3. Application of constant temperature styling technologyHot Air Brush's constant temperature styling technology is not only used to dry hair, but also plays an important role in the styling process. Whether you want to create smooth straight hair or curly waves, you can achieve it by adjusting the temperature and wind power of the hair dryer. At the same time, due to the existence of constant temperature technology, these hairstyles can often be maintained for a longer time and are not easy to deform. 4. User experienceWhen using Hot Air Brush, users can clearly feel the comfortable experience brought by constant temperature technology. The wind is gentle and the temperature is moderate, so that the hair can be cared for while enjoying the process of blowing. At the same time, due to the reduction of heat damage and static electricity, the hair is easier to comb and style after drying. Hot Air Brush's constant temperature styling technology is a highlight among its many advantages. It not only protects the hair during the blow-drying process, but also helps users create healthy and long-lasting hairstyles. For those who pursue beauty and fashion, Hot Air Brush is undoubtedly a hairdressing tool worth owning.
VIEW FULL ARTICLE
KEEP IN TOUCH
-

-

+ 86 - 574 - 63305579 / + 86 - 574 - 63321368
-

No.8 Wenti Road, Zhouxiang Town, Cixi City, Zhejiang Province, China.
QUICK LINKS
PRODUCTS
MOBILE TERMINAL
Copyright © Ningbo Forwell Electric Appliance Co., Ltd.. All Rights Reserved. Wholesale Hair Styling Tools
